Commands are a fundamental part of your progress in CS2, making it possible to customize the settings to adapt to the way you play, in addition to optimizing your training. With options for visual aspects, interface, gameplay, bind and also training options, optimizing the use of commands brings significant improvements to your gaming experience.
In this article, we list the main and the best commands to use both in CS2 matches and in training, check it out!
The Best CS2 commands
Launch options for CS2
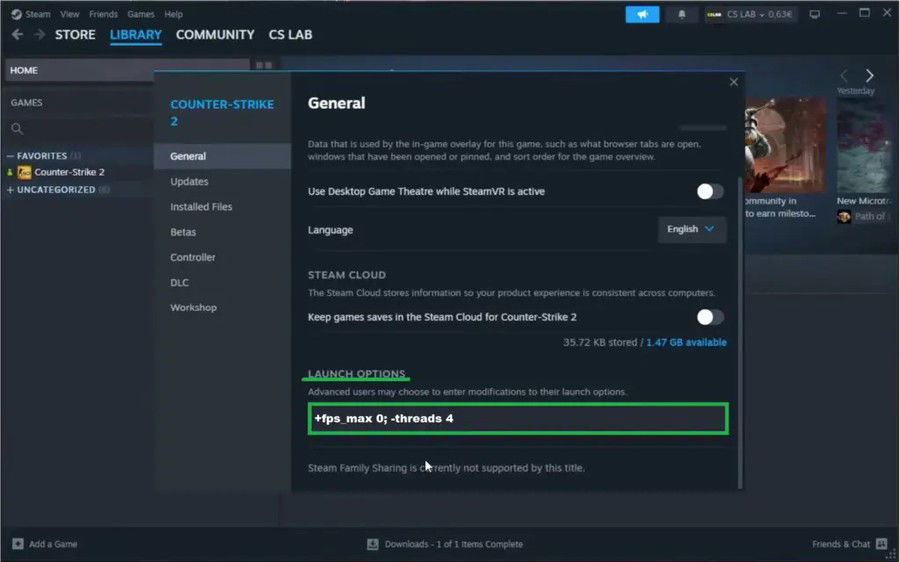
In this topic, we will see some codes that’ll make your game cleaner and faster. They will be used in the CS2 properties within Steam under “Launch Options”:
From now on, the commands will be used in the console within the game, in any match (whether training or online), click on the quote ’ to open it.
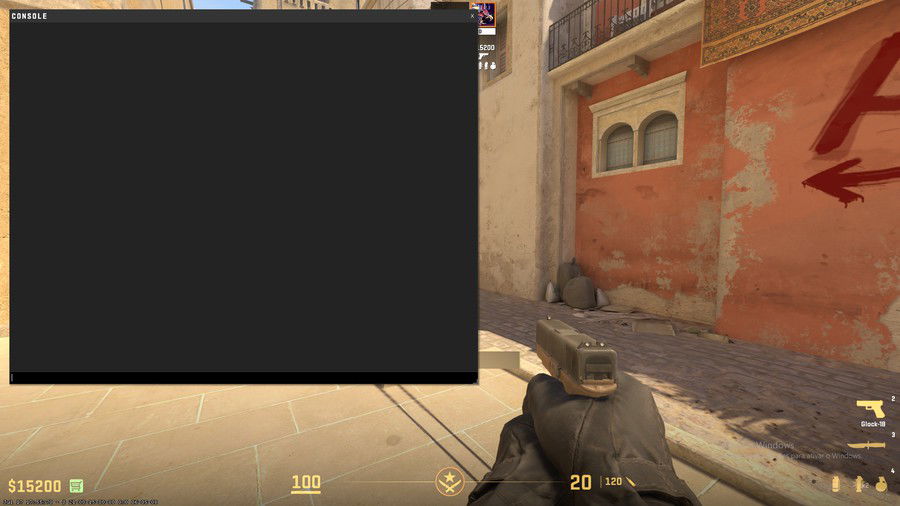
Codes for visual aspects
These commands vary according to personal taste, so try each one out until you find the way you like best.
Interface Settings
Gameplay codes
Before mentioning a command in itself, it is worth highlighting a shortcut that few know about and can be very helpful. By pressing delete during the purchase time, you will refund all the items you are carrying, this can be useful when your team recommends doing a last-minute economic round, not giving you time to sell everything separately.
cl_crosshair_sniper_width is a code which alters the size of the edges of the sniper crosshair, making them thinner or thicker. See an example (completely illustrative and not recommended) using this command with a value of 20.
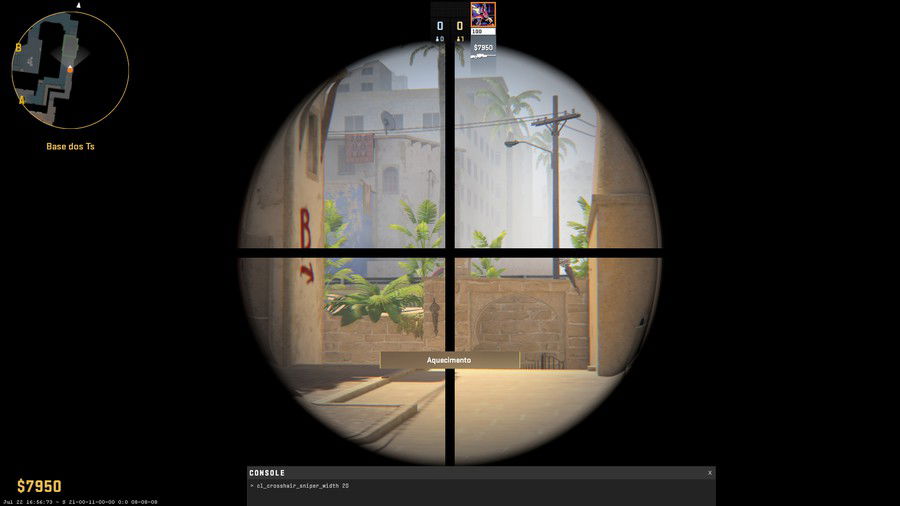
I suggest leaving it at 1, 2 or 3, but just like the visual aspects, the ideal number varies from player to player, feel free to enter other values, as long as it is comfortable for your gameplay.
How to bind jumpthrow
A bind is a shortcut, where with just one key we can perform an action. jumpthrow is one of the most requested commands among players, where basically with just one click you can jump and throw a grenade at the correct time, which allows you to perform countless utility pixels!
To activate, follow this sequence of commands in the console:
Do it exactly in this order and you will have activated successfully.
To perform the jumpthrow, simply pick up the utility and prepare your launch (holding down the left or right button, or both). Then, just press the key that was configured to be the bind key and your character will automatically jump and throw the grenade.
How to bind to drop C4
Instead of always having to press two buttons to drop C4, in this case 5 to select it and G to release it, we can activate a shortcut that performs both actions.
To activate, follow this sequence of commands in the console:
In addition to helping with practicality, this shortcut can be extremely useful in some more tense
rounds.
Commands for volume and voice chat
Commands for training in CS2
Here we will see some commands that do not work in online matches, only in training, as they even require you to activate cheats.
Conclusion
I hope this article introduced you to new commands to improve your gameplay! I'm open to suggestions and questions in the comments.




— Comentarios 0
, Reacciones 1
Se el primero en comentar