Haven is one of Valorant's OG scenarios and has always been very popular, featuring in most competitive rotations and satisfying the audience. Haven's greatest peculiarity is its three plant zones: A, B, and C. That’s why Cypher stands out; wards are extremely viable for protecting bombs, and on a map with three of them, having greater defensive potential will be a plus! Be prepared to use Cypher, knowing the main setups to improve your defense.
This article’s also relevant for players using other agents, especially when facing a Cypher, since understanding the traps he can set is essential to avoid surprises during the match.
With this in mind, we at UmGamer have created a complete guide to show the setups and one-way used by the best Cypher players to defend Haven. Check it out!
Cypher Setups on Haven Bomb A
Setup 1
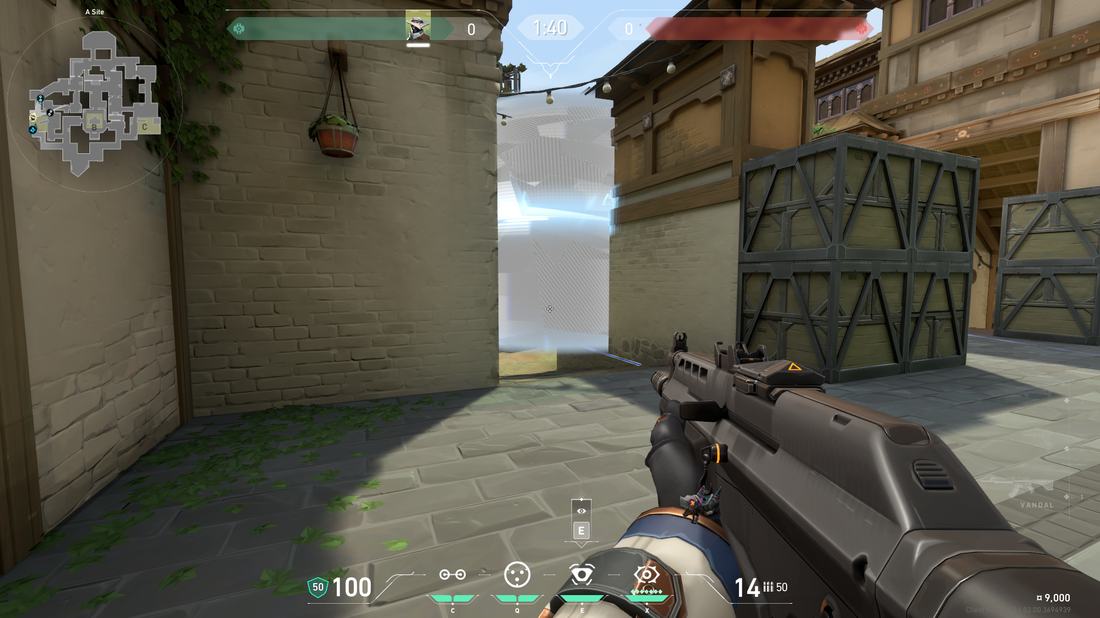
The first setup is for those who prefer to play from the front. Your camera should be positioned behind and as high as possible to spot enemies on the tunnel and A ramp in advance.
Positioned next to the ramp entrance, your focus is on getting some kills there - a one way and a wire will help you on that. Enemies coming from the tunnel rarely look at that spot, and if they do, you'll have another trap and smoke to help you switch or reposition.
Note that the second cage and wire shown in the video, used on the ramp, can only be thrown at the start of the round, when the barriers fall. So, be quick to avoid running into an enemy advance while still preparing your setup.
You need to keep a close eye on the camera to avoid being surprised by an opponent coming from the tunnel.
Setup 2
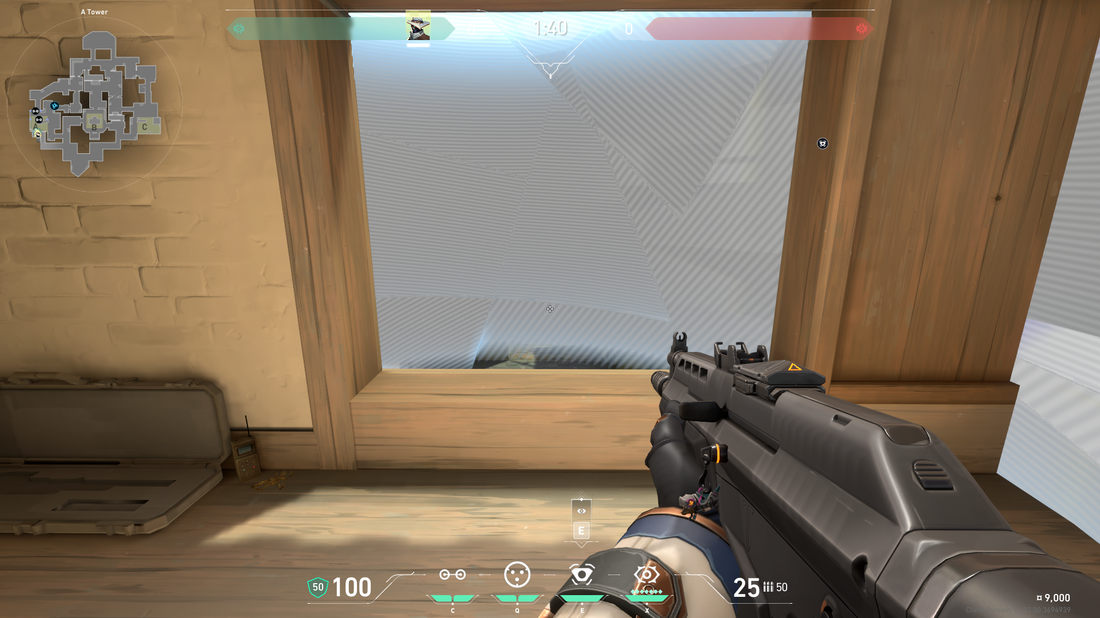
This strategy is more geared toward a reactive approach. You'll have two ropes blocking your advance along the ramp and a camera designed exclusively to capture information from the tunnel.
This way, you'll position yourself in the window and, knowing the location of some enemies, you'll have a few kills almost guaranteed. However, attackers are often already aiming at the window, waiting for you to appear. With this in mind, I recommend using your two cages as a one way to protect yourself while gaining even more information.
This one way is simple to do; just position yourself on the larger line of that wood and, aiming slightly below the black line shown in the video, throw the smoke.
One point to note is that there's nothing stopping a quick advance along the tunnel from causing opponents to conquer the CT base area and even climb into the window to kill you. So, it's recommended to have another player with you, focused on blocking this strategy. You can also vary the wires, placing one between the tunnel and the base, for example.
Cypher's Setups on Haven's Bomb B
Setup 1
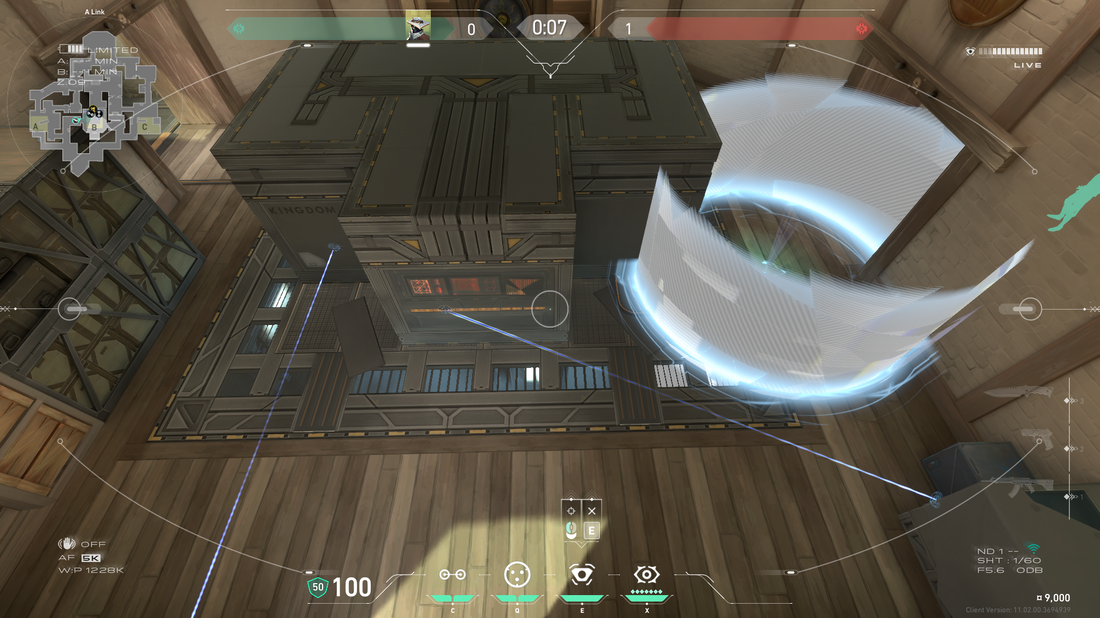
Bomb B is very closed off and doesn't leave many openings for enemies. That said, you shouldn't deviate too much from this setup. Of course, it's crucial to vary, but it's important to keep your resources at the same entrance.
There's not a lot to explain here; you'll block the two main plant areas with your wires, as well as better understand the enemy advance with the camera. You should throw a smoke near your position to defend yourself while shooting at those who fall into your wire, and you can save the second one for another situation.
Setup 2
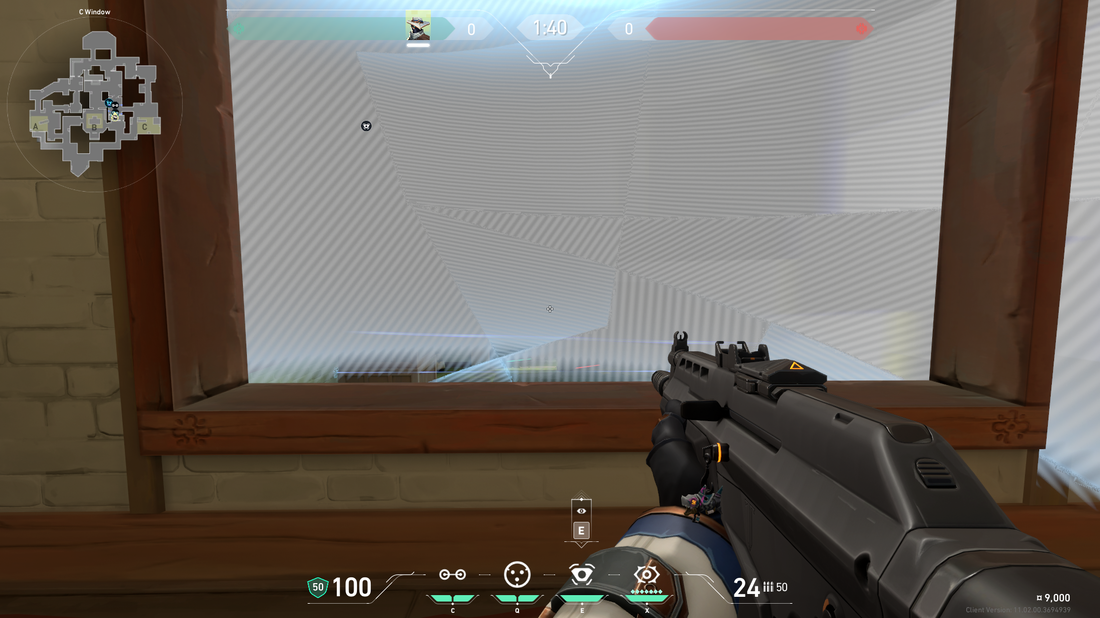
Now the focus will be on the Garage. This is another location with few opportunities for attackers to exploit, so simple strategies are enough to delay their execution.
In the video below, you'll see two setback wires, one specifically in place to block anyone trying to jump through the window to kill you. You can change one of these traps to place it further ahead, closer to the door.
For maximum innovation, we've included two very useful one ways to surprise your opponents with.
The last, more difficult one, requires you to look down and position yourself on the "arrow" shown in the video. Then, walk as far forward as possible and, after that, aim precisely at the divider between the two light fixtures - as demonstrated by the video below - With a little practice, you'll have it easy.
This way, you'll have two one ways and wires capable of preventing an entrance to the C or an advance toward the window.
Cypher Setups in Haven's Bomb C
Setup 1
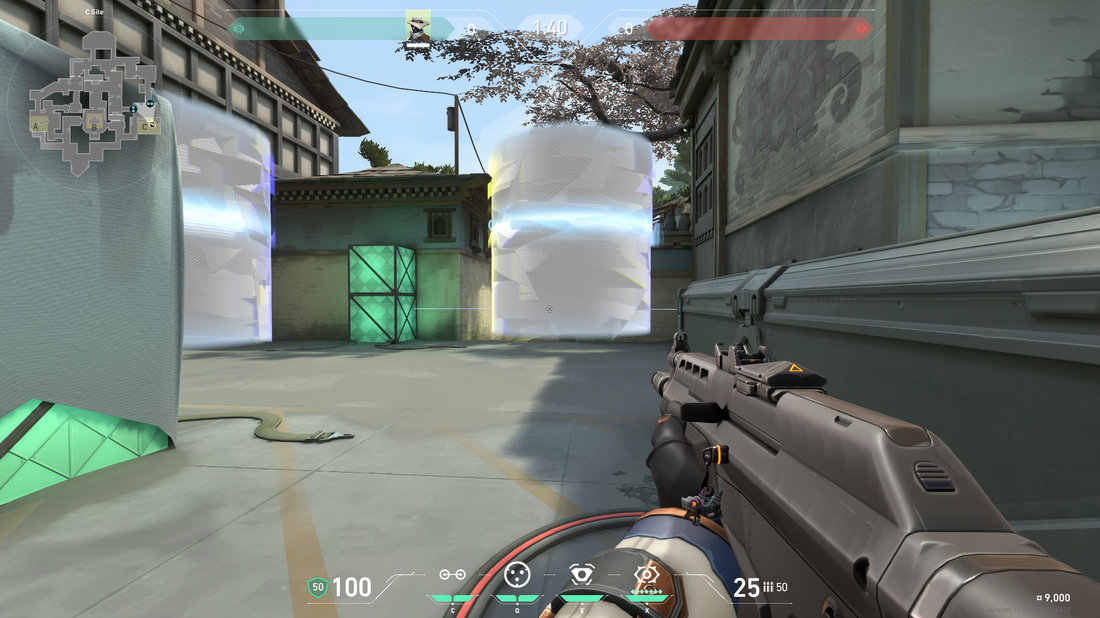
It's a great position to play a little further back and still kill many enemies.
Usually, a C execution consists of three or four in the long and only one at the Garage. Most of the ones in the long tend to enter at the same time. When this happens, you'll have a wire to block the first one, as well as a great one way to kill the remaining opponents.
Another smoke and wire used on the connecting door between the Garage and bomb C also makes it easier to take down any player trying to pass through.
Setup 2
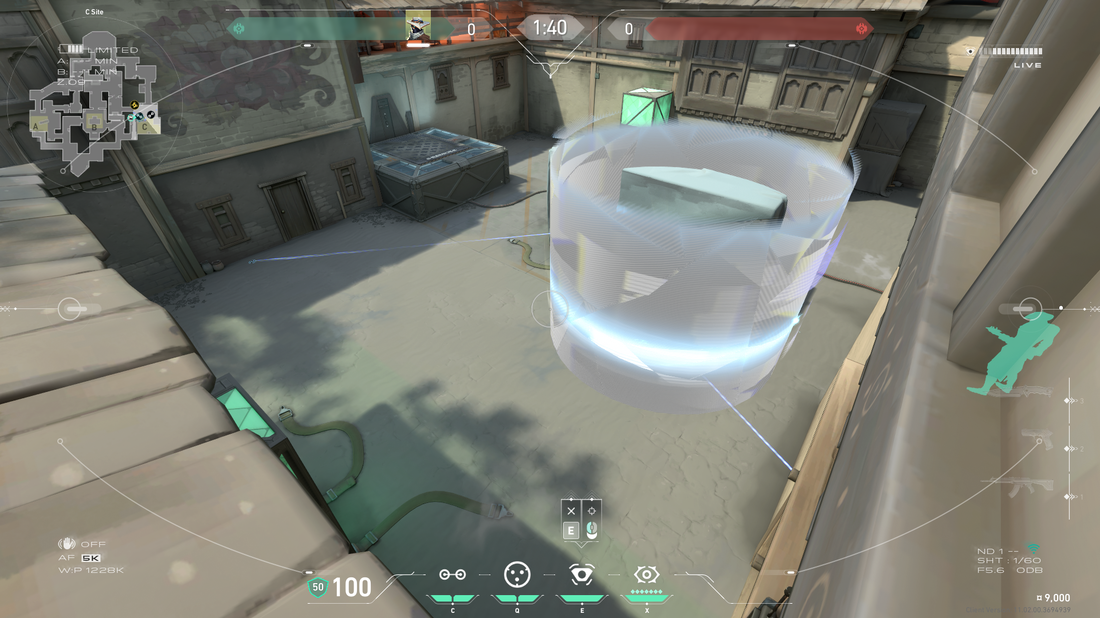
If you're a risk-taking Cypher, this last strategy is for you! It's a simple formation, without one ways or more complex wires, just be careful to throw your two cages in the same place.
Positioned in the woods, a common location for defenders to stay in, you'll have the support of your tools to detect hostile presence. Activate the first smoke to get the first kill.
The attackers will soon suspect your location and shoot there, which is why the second cage is important. It's for movement, be it by jumping on top of the green box or going behind the bomb. The focus is on getting out alive and, ideally, getting another kill.
Conclusion
Cypher is extremely effective on Haven due to his flexibility, since he can operate from all points on the map. I hope this article has given you more perspective about this!
I'm available in the comments if you have any questions or suggestions.




— Comentarios 0
, Reacciones 1
Se el primero en comentar